Eloqua Integration Guide
Overview
The Eloqua integration with Anteriad Marketing Cloud allows contacts to be delivered directly to a specified Eloqua list or campaign.
Step 1: Log In
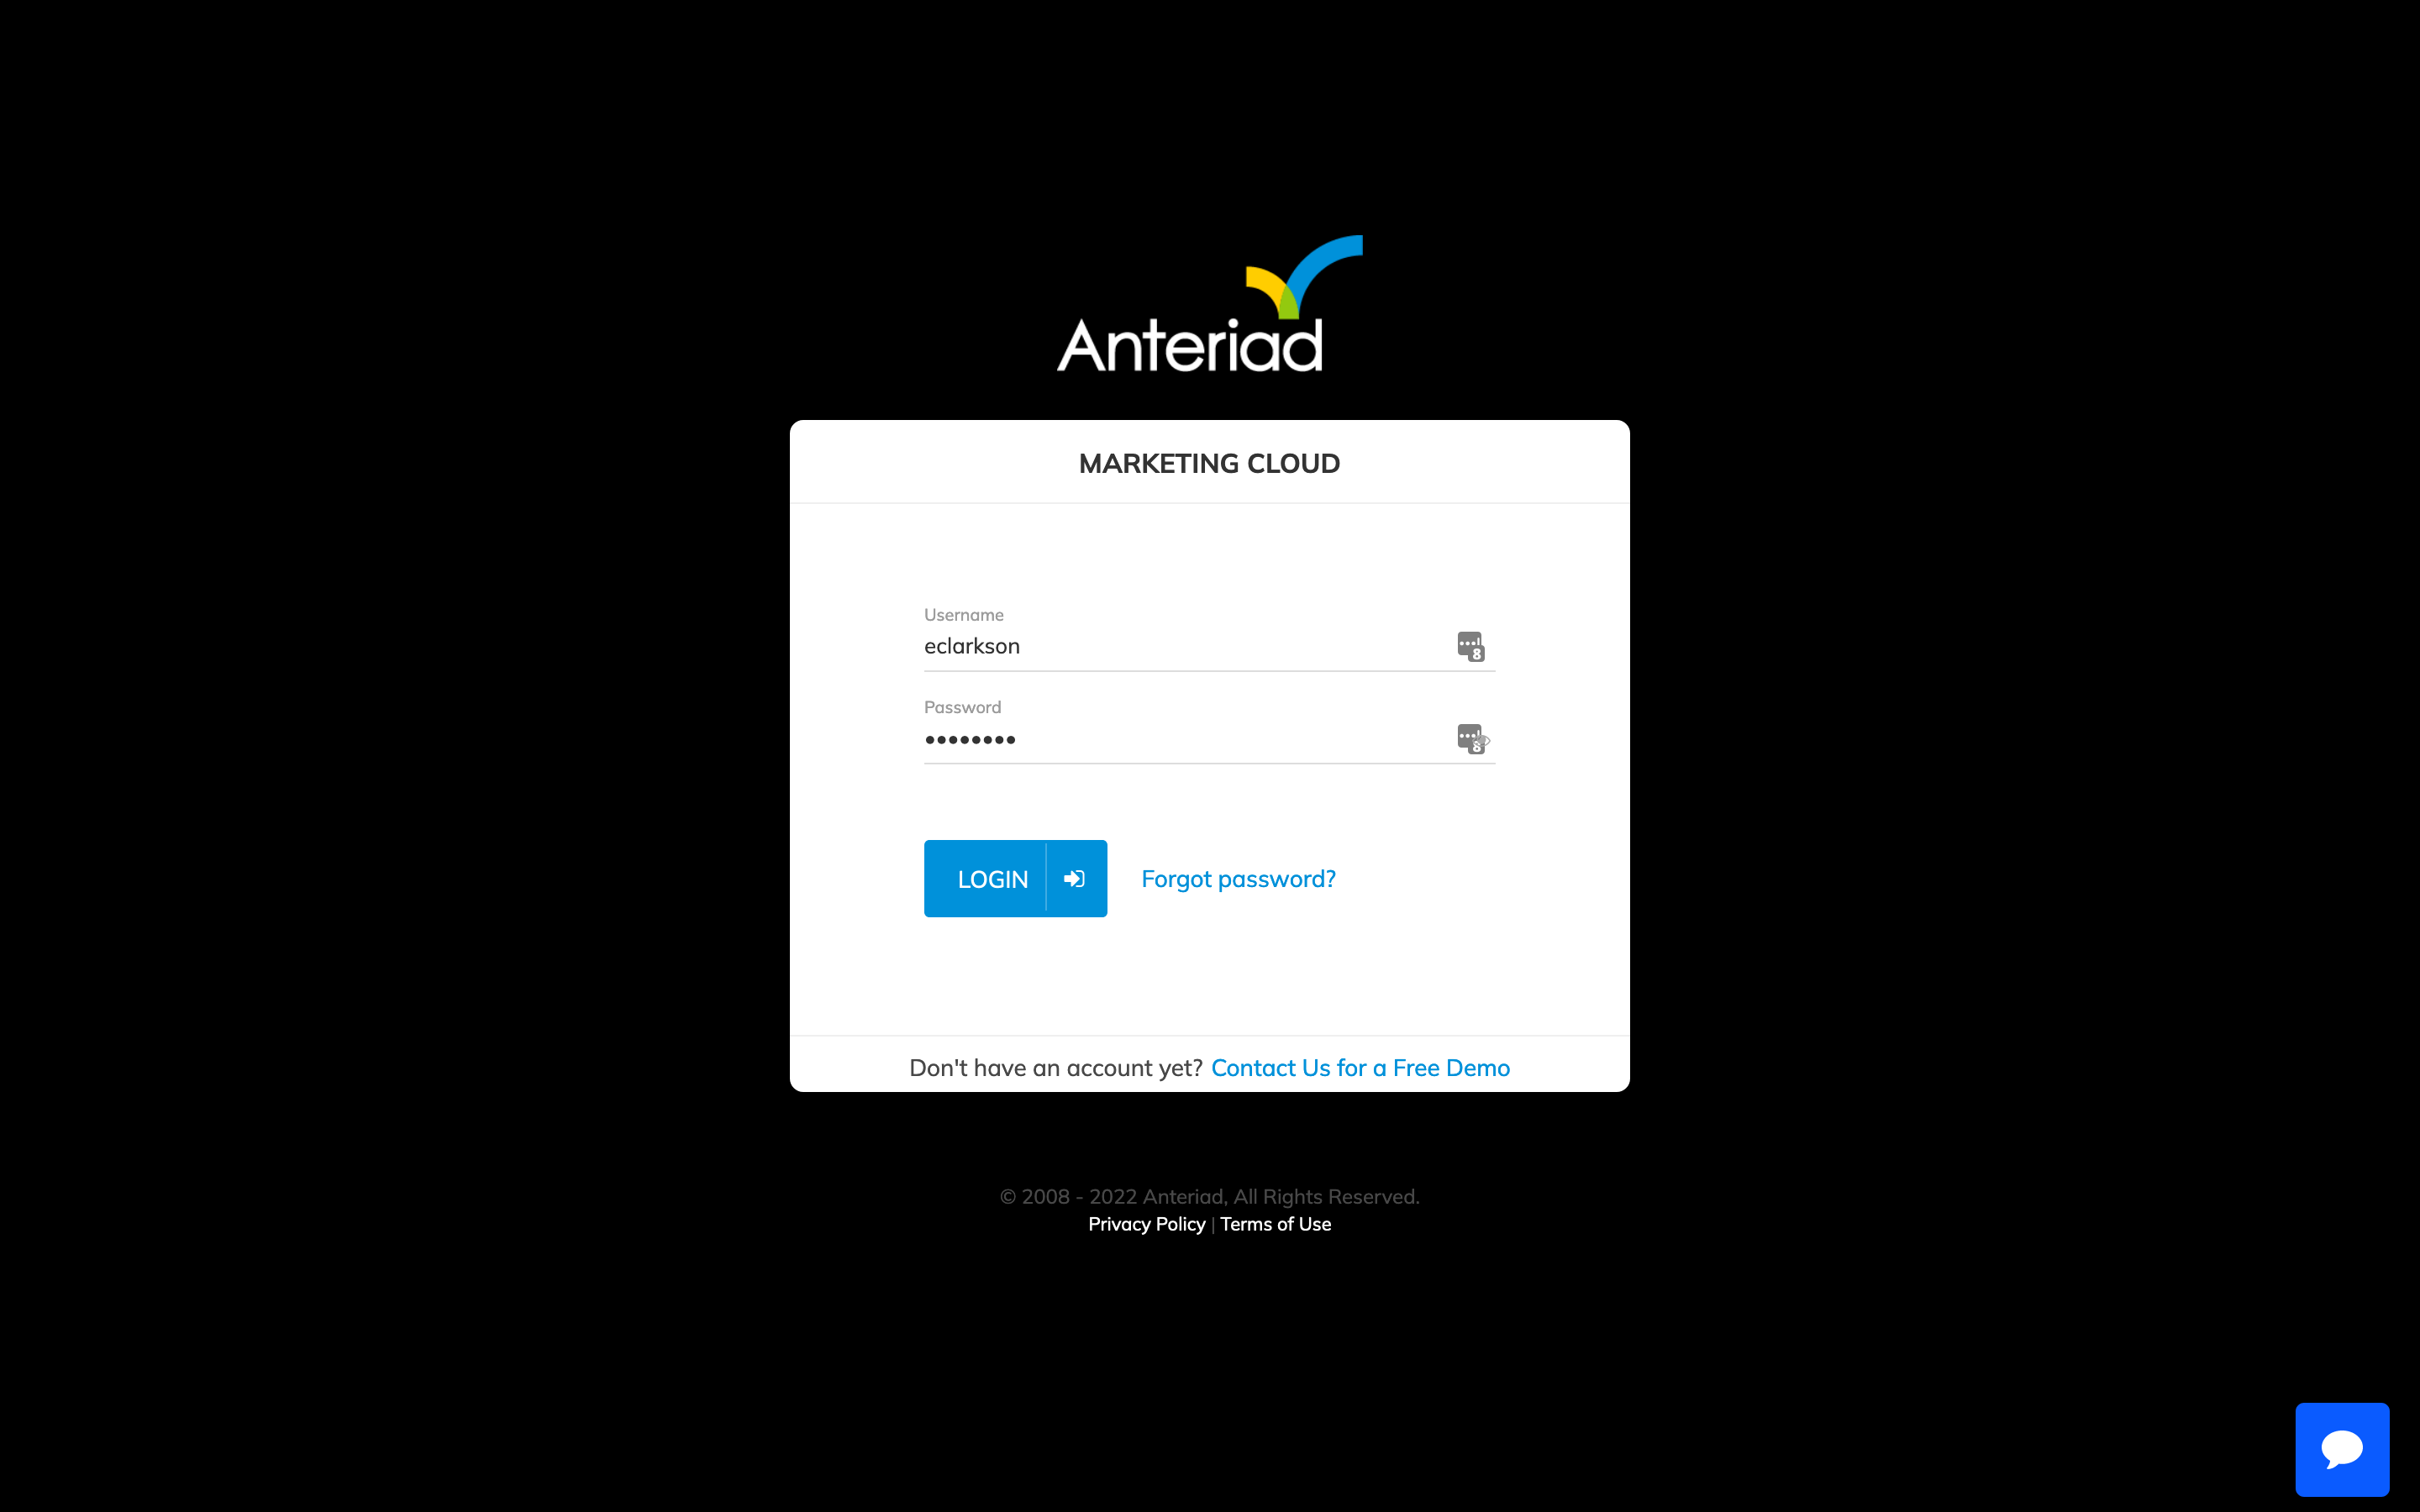
Log in to Marketing Cloud with your username and password.
Step 2: Go to Integrations
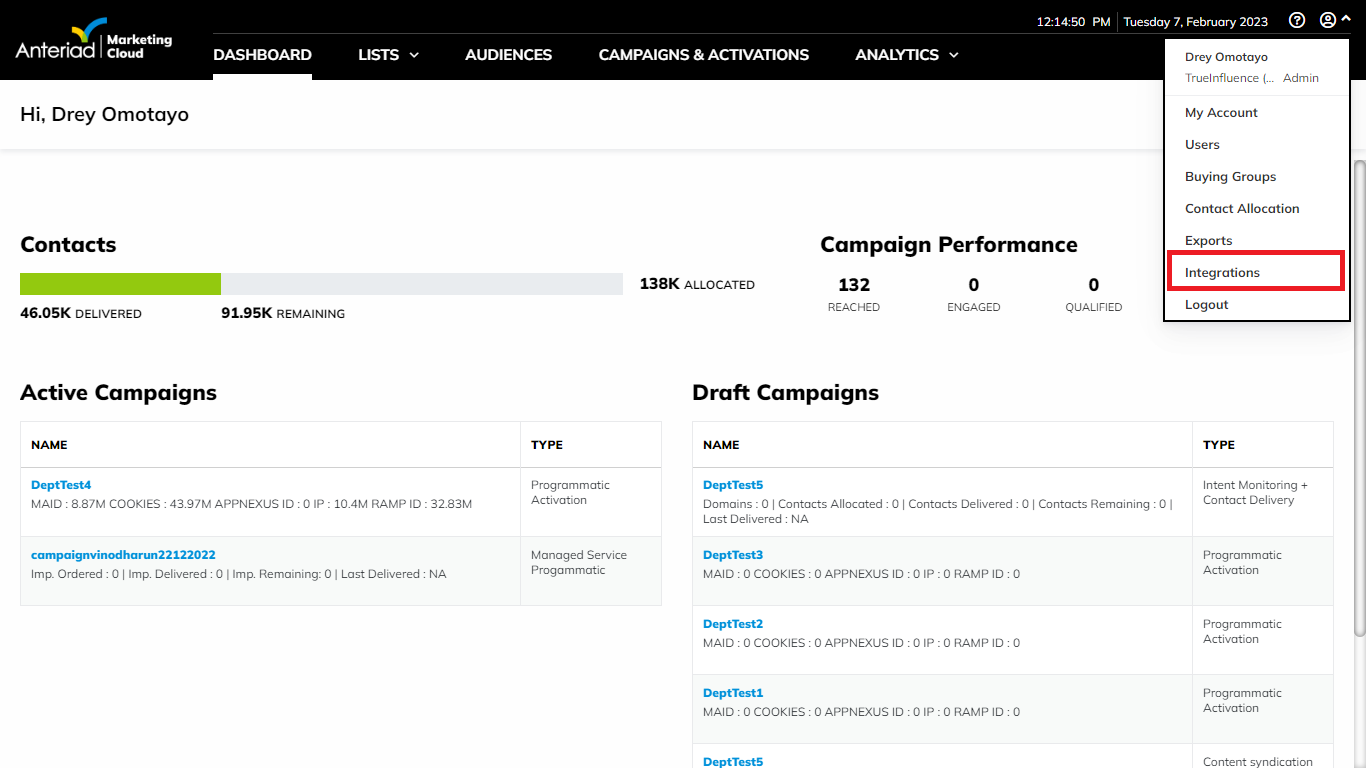
Click the user menu at the top right and select Integrations from the dropdown menu.
Step 3: Configure Eloqua
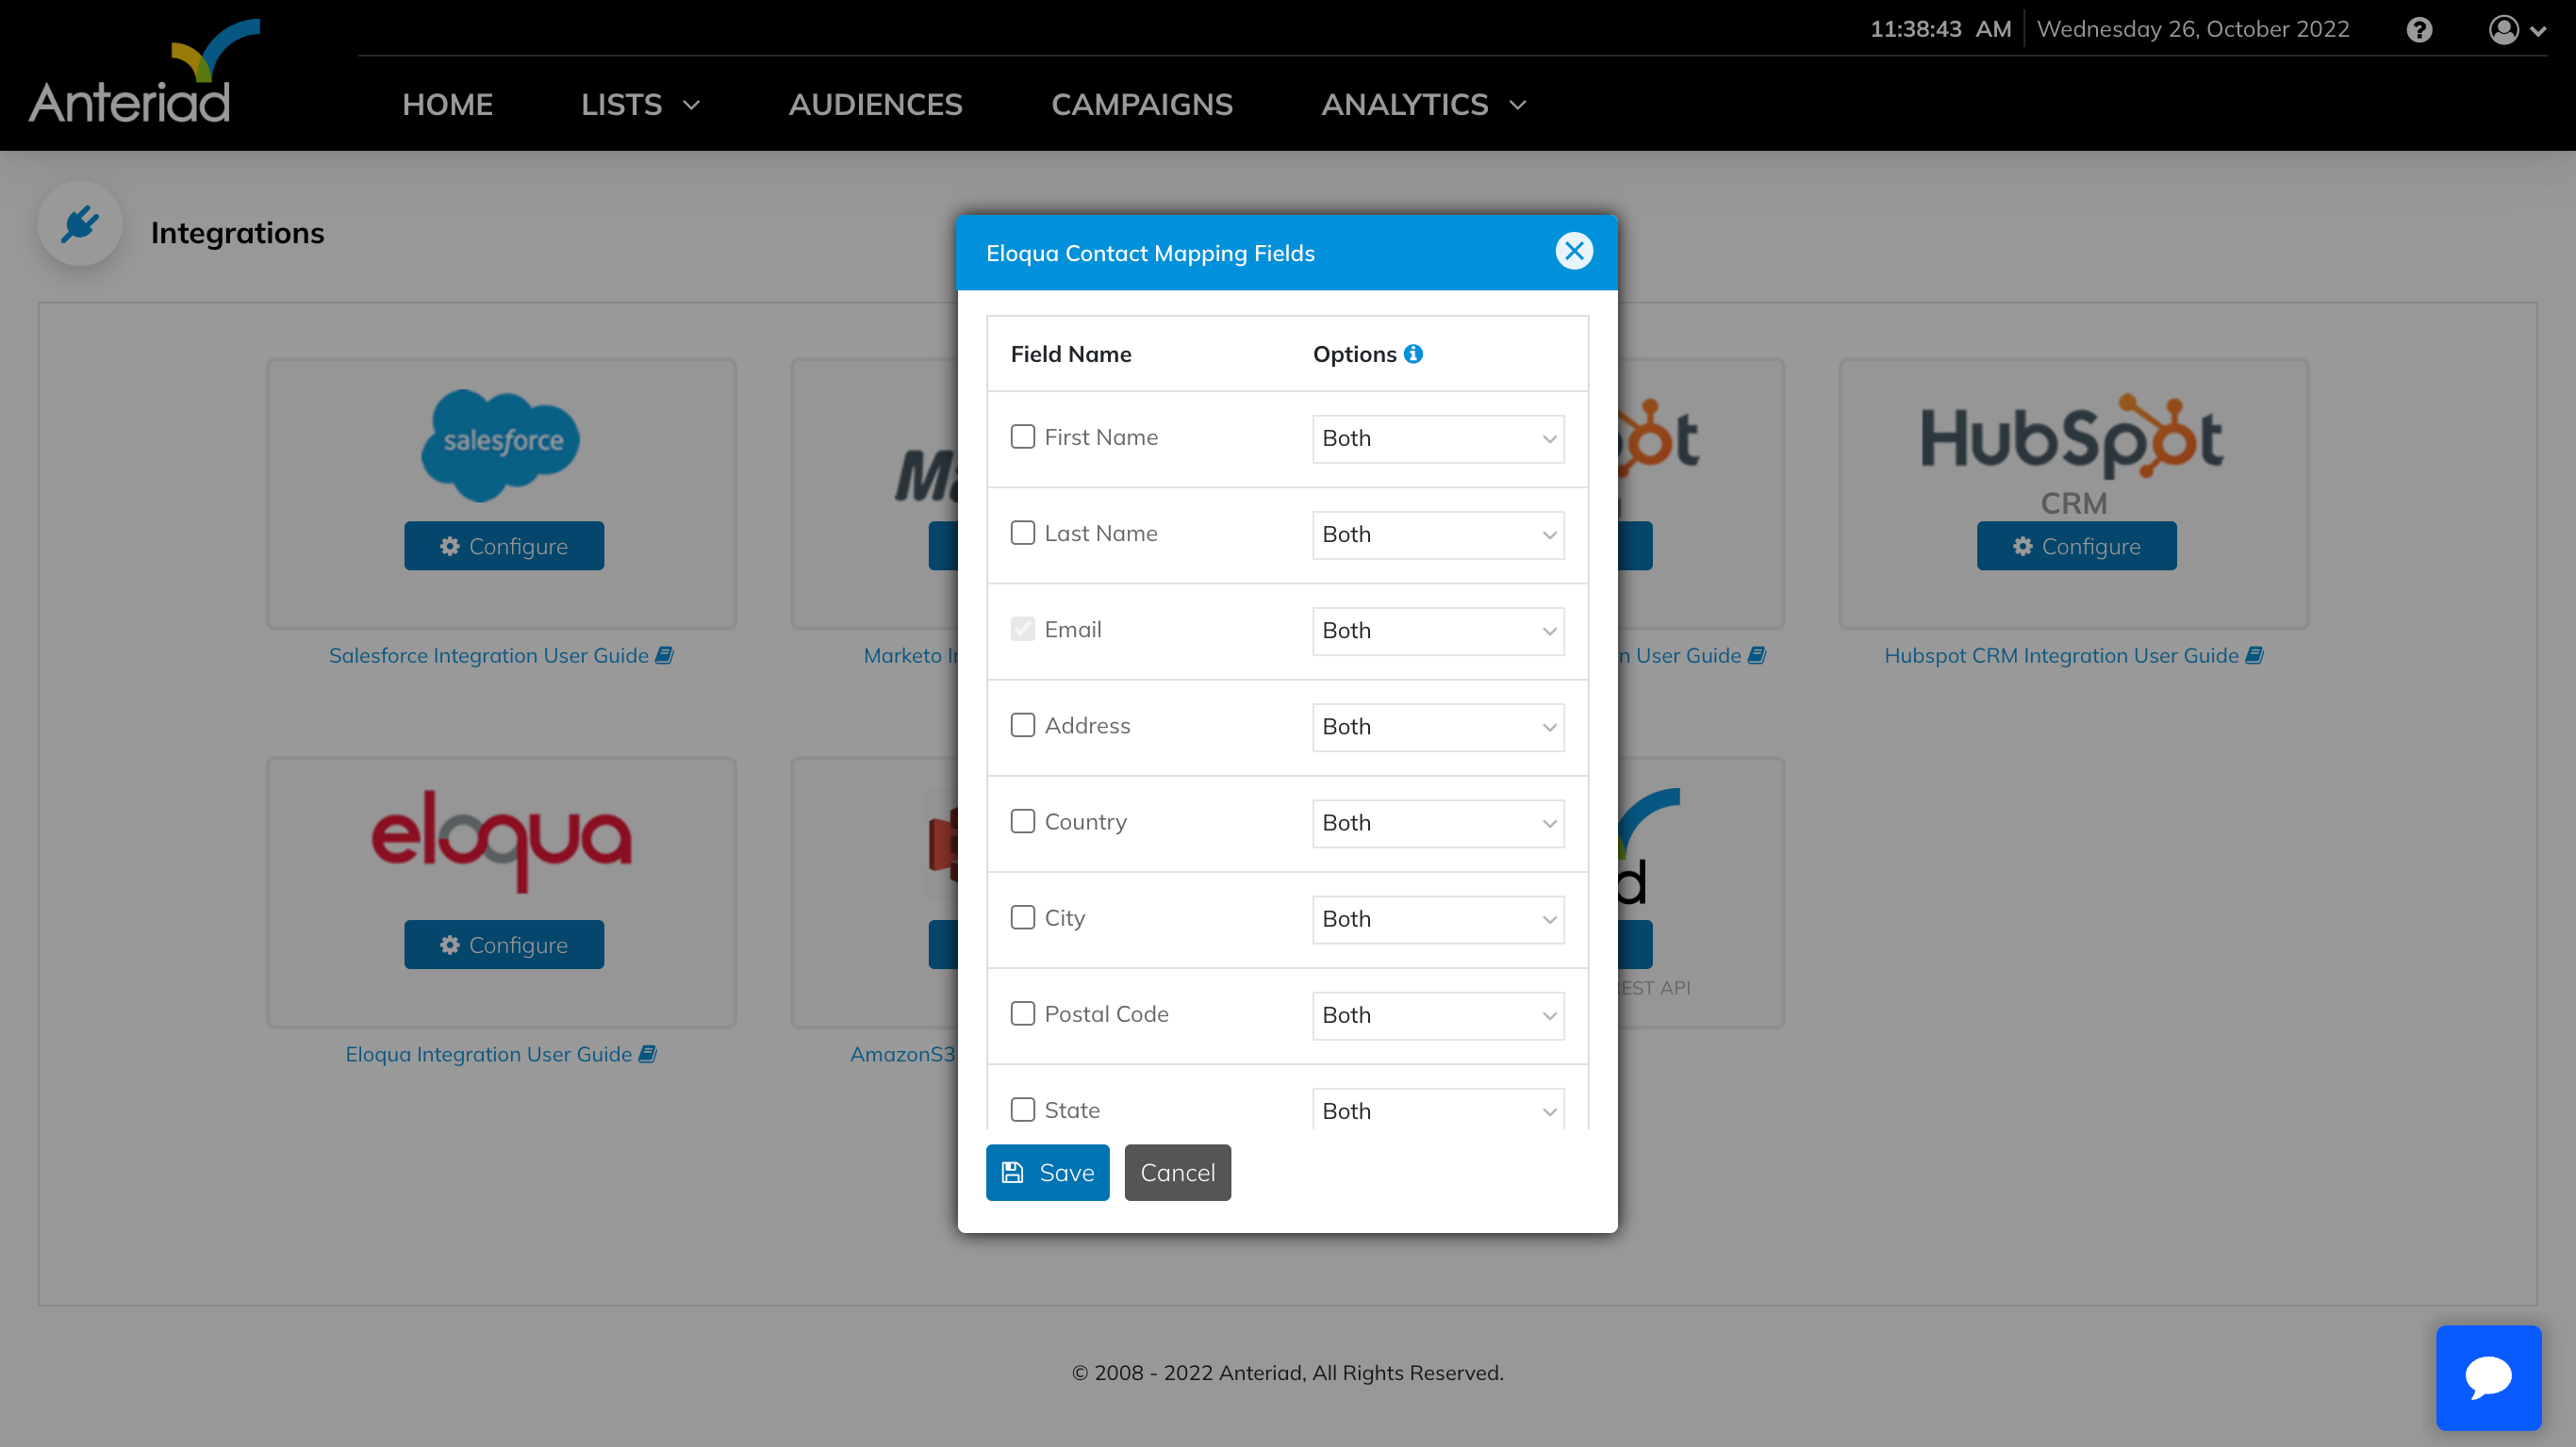
Click the Configure button under the Eloqua logo. The Eloqua configuration modal will appear.
Step 4: Complete Configuration
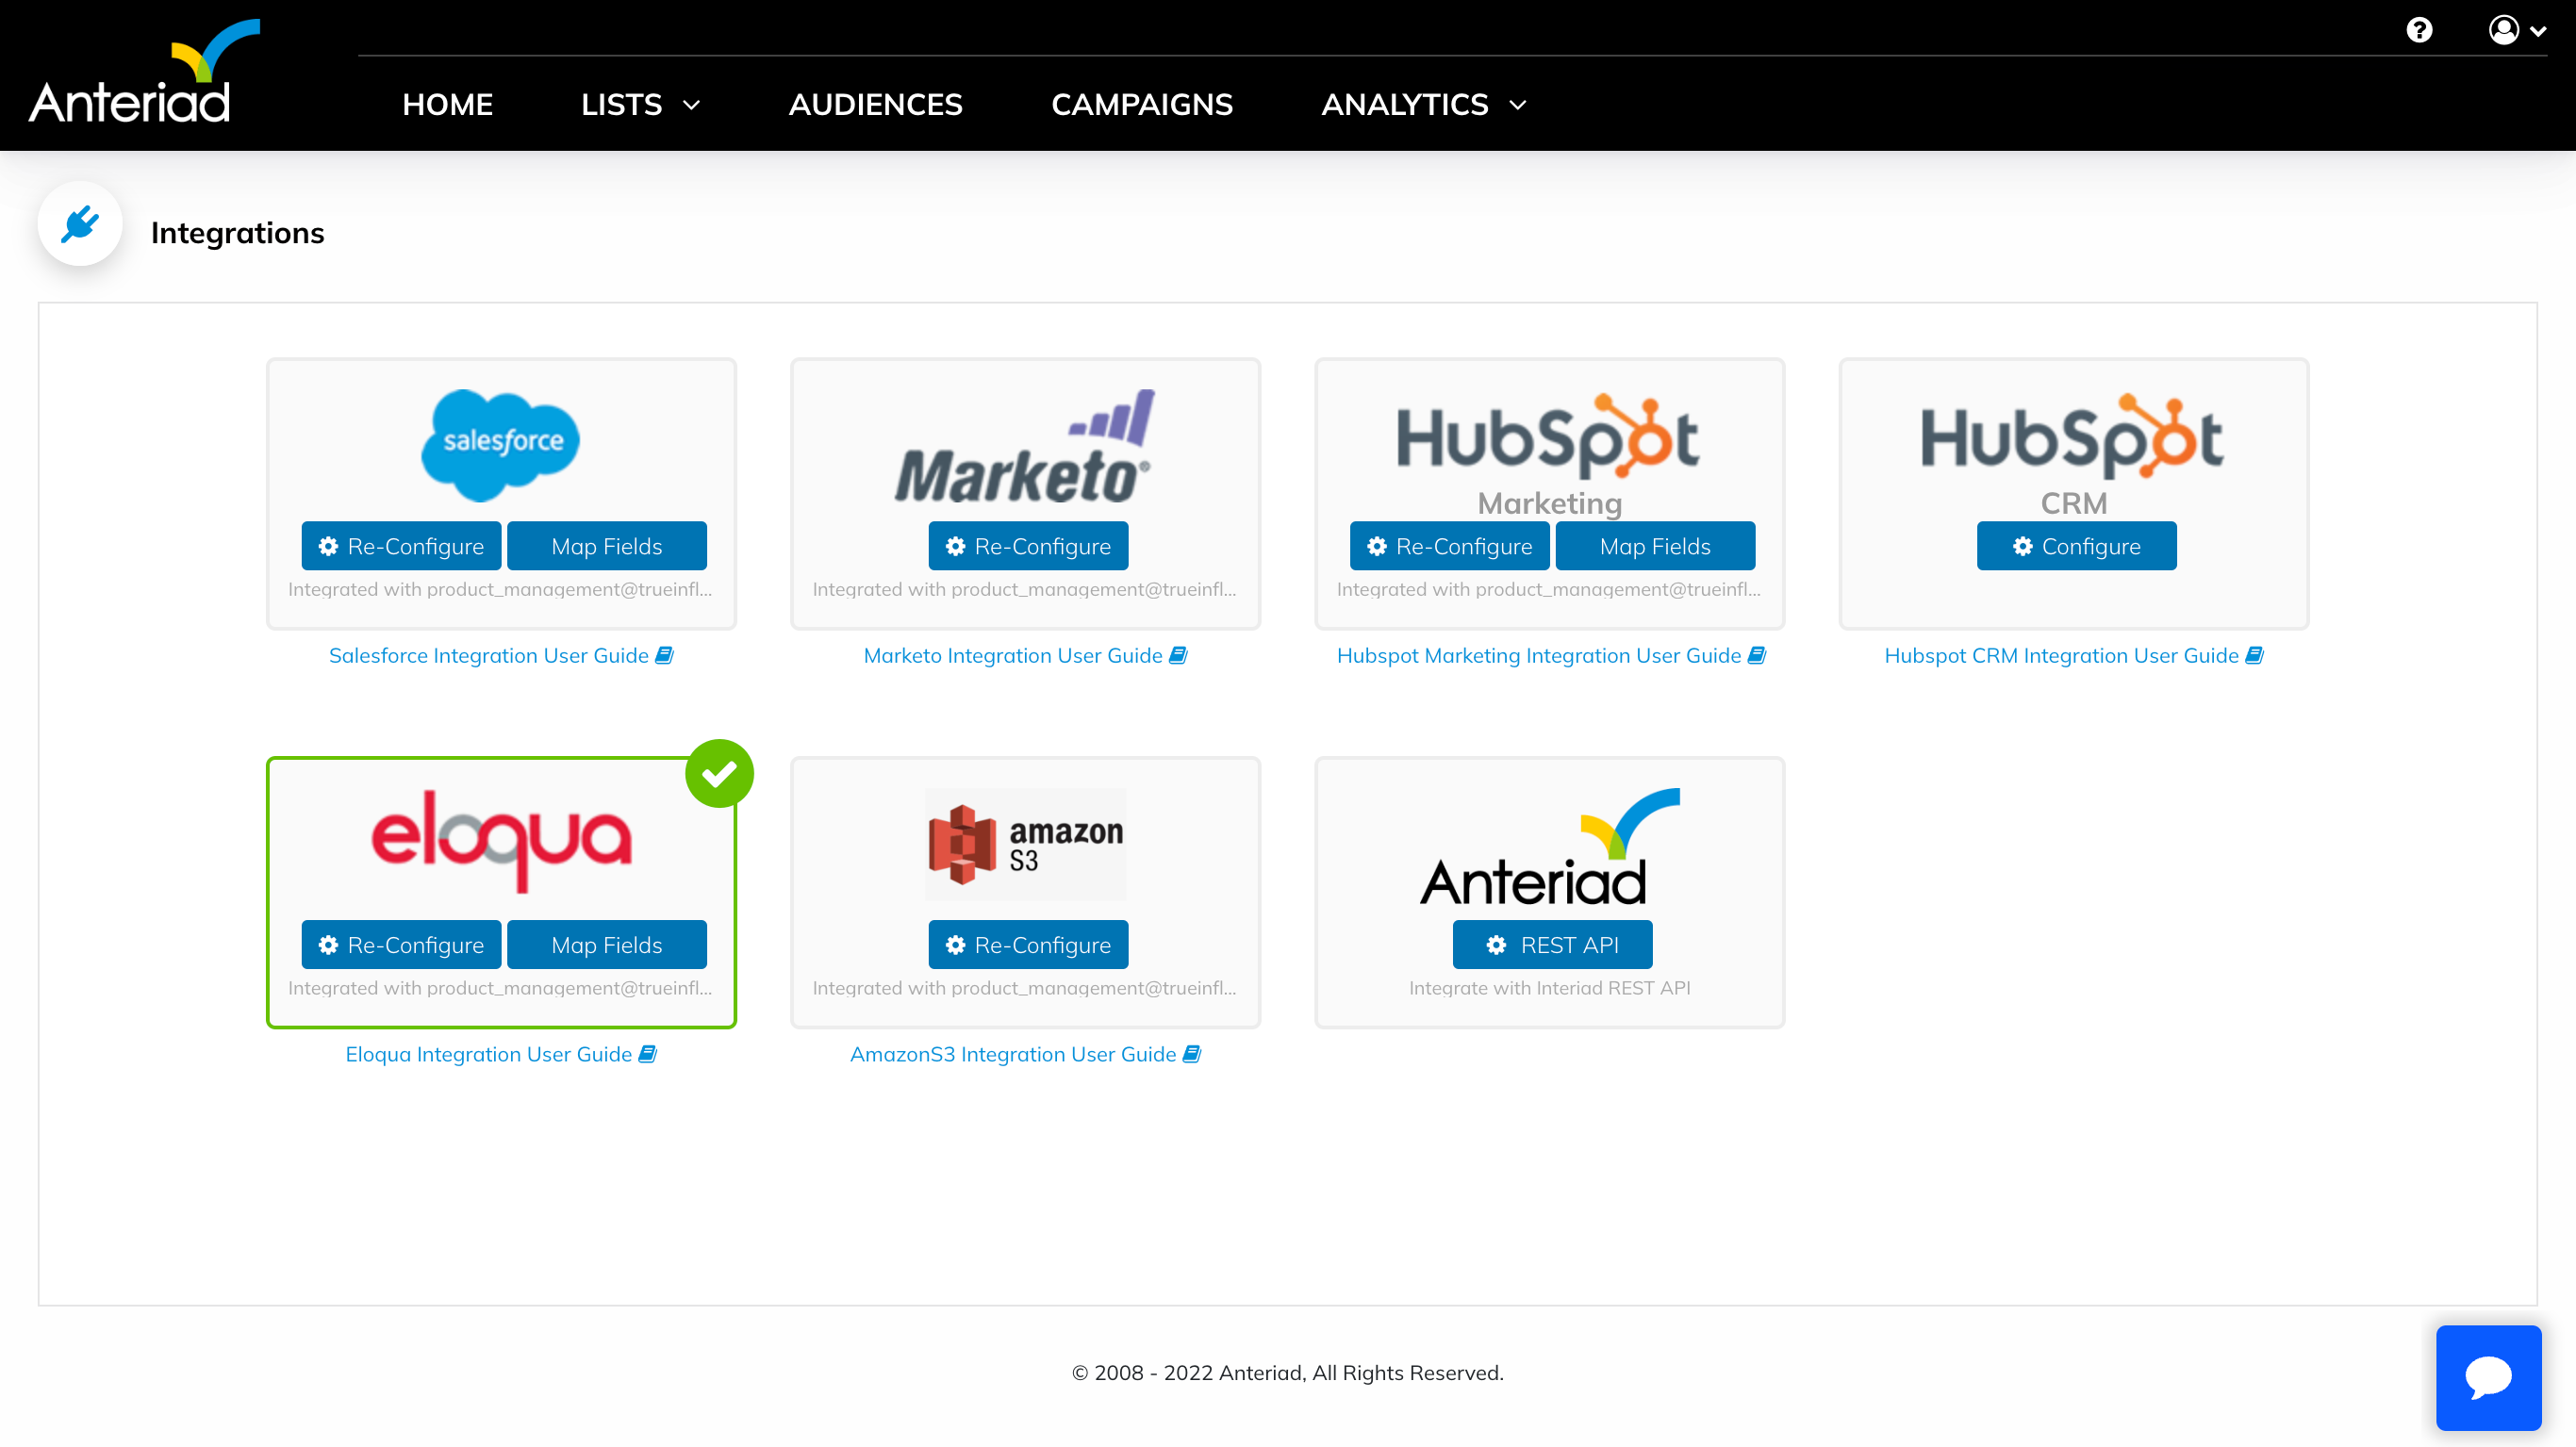
Once the configuration is completed then the user will be taken back to the Integrations screen. The Eloqua tile will show a green check mark, indicating that the integration with Eloqua is correctly configured.
Step 5: Delivery Settings
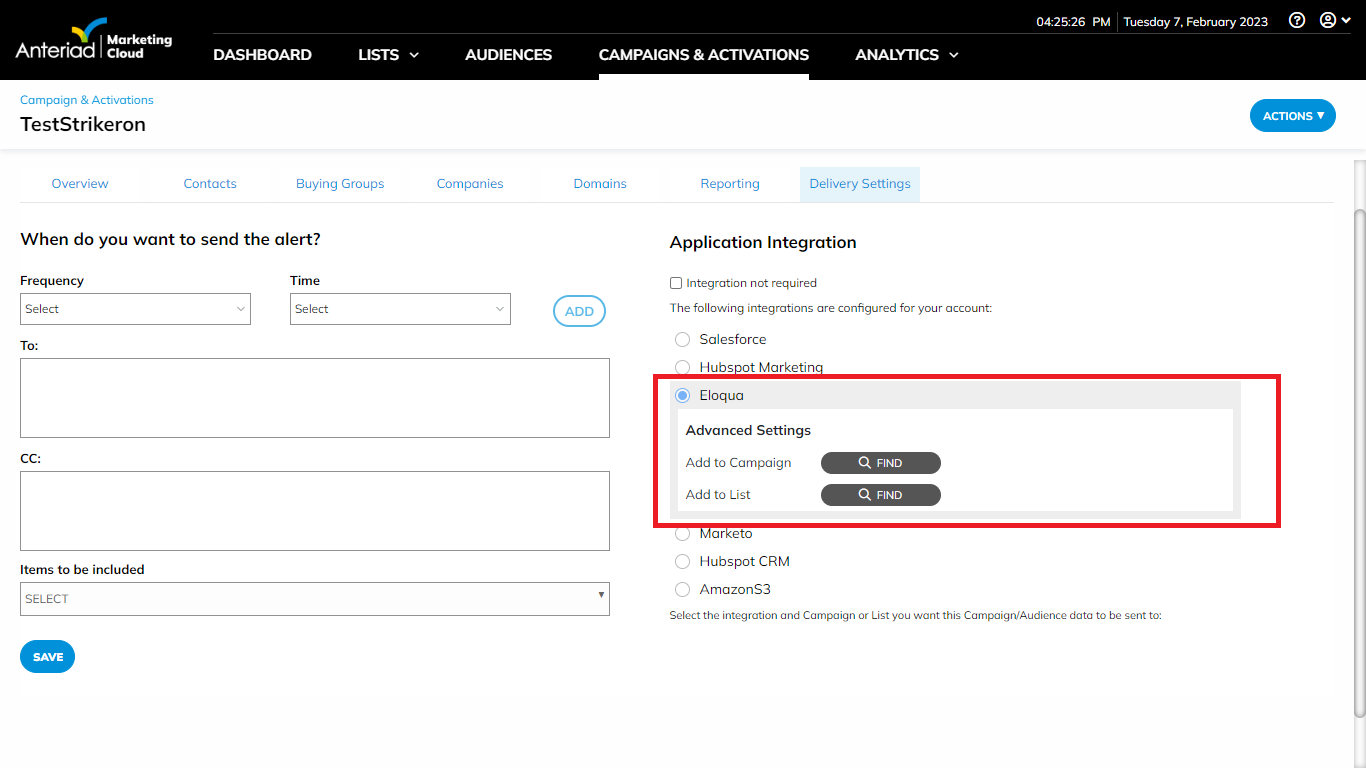
Once the integration has been configured, navigate to a Campaign in order to deliver contacts from the campaign to Eloqua. In the Delivery Settings tab, select Eloqua.
Under Advanced Settings, next to Add to Campaign, click the Find button. A dropdown will appear with the list of existing campaigns from Eloqua. Select a campaign where Contacts will be delivered. Selecting None will deliver contacts to the Eloqua global database.
Updated 8 months ago
